How to Properly Inspect a Crawlspace
Tips from a Crawlspace Industry Expert
In the previous blog in this series, I wrote about the importance of knowing what is in your crawlspace. In this post, I will review some basic facts about inspecting a crawlspace to help you determine what is going on beneath you.
The first priority when conducting any inspection is safety. Some people have no issues with entering their crawlspace, while others have a very real aversion to confined spaces.
Crawlspaces, for the most part, are dark and damp, sometimes cluttered or obstructed. Not to mention, they are typically dirty and possibly have electrical and other safety hazards. Feeling comfortable about your safety in that type of environment for an extended period of time is an important concern and one you should research thoroughly before entering the crawlspace. In an upcoming blog, we will discuss crawlspace safety in detail, but for now just know it is better to be safe than sorry.
Check Your Toolbox
So, what is your next step? You will need a few tools in order to conduct a thorough investigation. A good dependable flashlight tops the list. Make sure the batteries are fresh and the light is bright enough to see well and far away. You will also need a tool to probe the wooden framing members, and to check for wood rot. A long-handled flat-head screwdriver works well, or you can use a pick hammer. Just remember, you are investigating, not demolishing your home.
Just as important as the flashlight is the moisture meter. You can pick up a moisture meter at your local home improvement store or online. You don’t need to go to a great expense for a moisture meter, as they are relatively inexpensive. And the last thing you need in your tool bag is a camera with flash capabilities; your smartphone camera should work well.
Crawlspace Inspection by the Numbers
Once you are equipped with your required tools, you are ready to begin the inspection. I follow a simple routine every time I inspect a crawlspace. I call it “Inspection by the Numbers,” and it goes a little something like this:
1. Check the exterior of the crawlspace and foundation to make sure it is not allowing water from the outside to run into the crawlspace. Take note of the following:
- Outside grade sloping to or away from the foundation
- Any pipe penetrations
- Any holes and cracks in the foundation wall
- Any foundation vents that might be at grade level
- The location of the HVAC unit(s)
- Power and cable lines
- The amount of vegetation around the house
- Anything else that might allow water intrusion into the crawlspace
2. Once inside the crawlspace, remember 3D: look down, around, and up. The majority of the time, moisture will start at the ground and work its way up.
3. Take moisture readings. I recommend no less than six (one at each corner and two in the middle) or as many as you feel necessary to understand how the moisture inside your crawlspace is affecting your home’s foundation and framing.
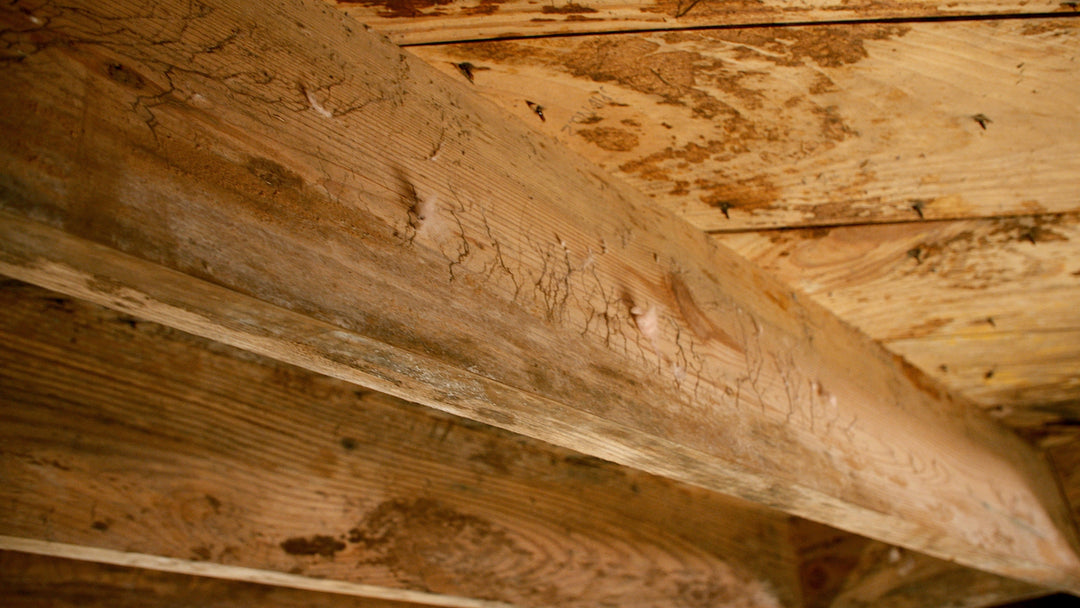
4. With your probing tool, probe the floor joist, the rim joist, and the subflooring throughout the crawlspace. Focus where the plumbing penetrates the subfloor, and anywhere your moisture readings are above 15%. Also focus on where you see wood rot or water stains on the wood.
5. Finally, the picture will tell the story. Take pictures, as this a great source to refer back to after you have finished your inspection.
Crawlspace Professionals At Your Service
Getting a second opinion from a professional, even if you are planning to do the labor yourself, is well worth the time and possible fee. A second opinion can confirm your findings and get you an estimate on what the professional would charge to do the work for you.
Your Crawlspace can provide you with professional information as well as help you with planning your crawlspace encapsulation project.
Your questions and feedback are welcome, so please don’t hesitate to contact us for more information.
Don Richards A.C.E., CPI


