Creating Your Crawlspace Encapsulation Plan
Tips from a Crawlspace Industry Expert
Every worthwhile project deserves a solid plan before you start. A plan keeps you focused and organized. It takes you from start to finish and gives you a tool to evaluate and measure how the project is moving toward its goals. It helps you accomplish what you set out to do. A good plan is a living plan that can be changed or modified as needed, because circumstances may change throughout the project. So, before you embark on a crawlspace moisture control project, I suggest some preparation and planning be done first. Here’s how I recommend formulating a foolproof crawlspace encapsulation plan.
Set Your Goals & Do Your Research
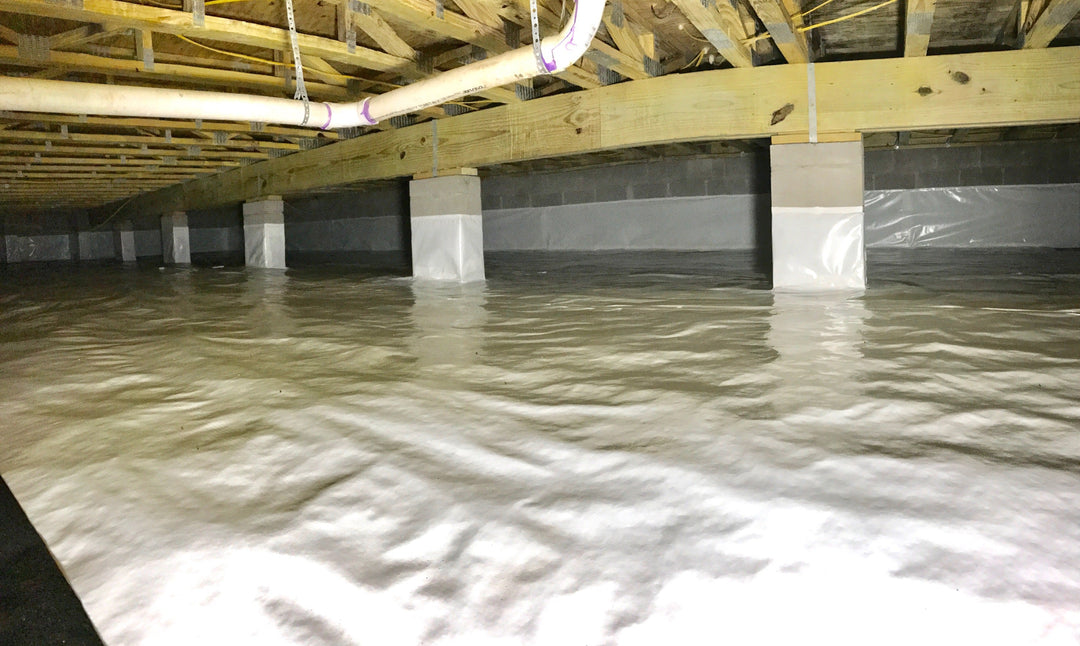
First, start with what you want to accomplish, by beginning with the end in mind. An example could be: I want to clean out my crawlspace and install a moisture barrier to control the excess moisture inside my crawlspace.
Now, I would divide the plan into segments, as this will help you think through the process. Use dates if you want to help manage your time. You have already started doing research and learning about crawlspace moisture control if you are reading this blog. At this point in your plan, you want to be gaining knowledge of the different products and processes available to install a proper crawlspace moisture barrier.
Your Crawlspace’s website is a great resource in guiding you through how-to videos on products and installation procedures. Using the tools available to you on Your Crawlspace’s website before you begin installing the vapor barrier will only help to make the project progress that much easier.
Draw a Crawlspace Diagram
Drawing a diagram of your crawlspace should be next on your plan. Your diagram should include measurements and notes related to your crawlspace, including information like the number of piers and their location. This information will come in handy when you are getting your material list together and preparing your cost estimates. This is a big step in your planning process.
A diagram can be as basic as drawing lines on a piece of notebook paper or as detailed as you want to make it. The fundamental idea is the diagram needs to resemble the crawlspace foundation footprint, like the drawing below.

Here is a step-by-step look at how to draw a proper crawlspace diagram and what to include in it:
- Measurements of the outside crawlspace foundation in linear feet. I would start at the right front corner and continue measuring around the crawlspace foundation, indicating any angles the foundation takes, until you are back to the point you started.
- Indicate where the crawlspace foundation vents are located. I do this with a little x on the diagram. This information is important, especially if you are enclosing your crawlspace and placing a dehumidifier inside to condition the crawlspace air.
- Indicate where the entrance(s) is located. I would also make a note of the size of the crawlspace entrance door (or doors). This is important if you have to replace your crawlspace entrance door with a new YCS ABS plastic crawlspace door. These doors are designed to keep the crawlspace more secure and watertight.
- The diagram should indicate if your home has an attached garage, attached dirt filled slab porches, patios or stoops.
- Number of crawlspace foundation piers and their approximate location inside your crawlspace. I indicate these pier locations on the diagram by placing a dot or small square on the diagram. Also, I make a note of the pier measurements.
- The height of the crawlspace foundation walls. This height may change in different locations around the foundation, so I suggest taking measurements in several locations and drawing an arrow to the approximate location on the diagram. This will help in calculating the amount and length of wall curtain moisture barrier needed.
- Any other objects inside the crawlspace that will need special attention when installing the crawlspace moisture barrier. This includes the location of a water heater and/or water storage tanks.
Choose Your Crawlspace Materials
The next step in a well-prepared plan is carefully researching and selecting the right materials you need for the project, as well as the quantities needed and the cost of those materials. At this time in your planning process, you can compare the time and cost of doing it yourself versus hiring a professional to do it for you, because at this point, all you have invested is some time. Remember, rushing into a project that you have not planned thoroughly may cost you more in the long run. You should always invest in the most effective materials, so you only ever have to do the job once.
Ultimately, a well-prepared plan combined with patented crawlspace encapsulation products should give you the confidence that you need to get the job done right every time.
If you have any comments or questions regarding this blog, we would enjoy hearing from you. You can contact Your Crawlspace at www.yourcrawlspace.com or me at www.drsllcpd.com/.
Don Richards ACE, CPI